So, our 2nd class was all about soldering correctly and much
much more important than that ... preparing the join. Easier said than done, at least
pour Moi!! Our instructor has a mantra about a clean, tight join (can't remember her exact words) and I found that even more P.A.T.I.E.N.C.E. is required for this step than the aforementioned sawing (
see post here).
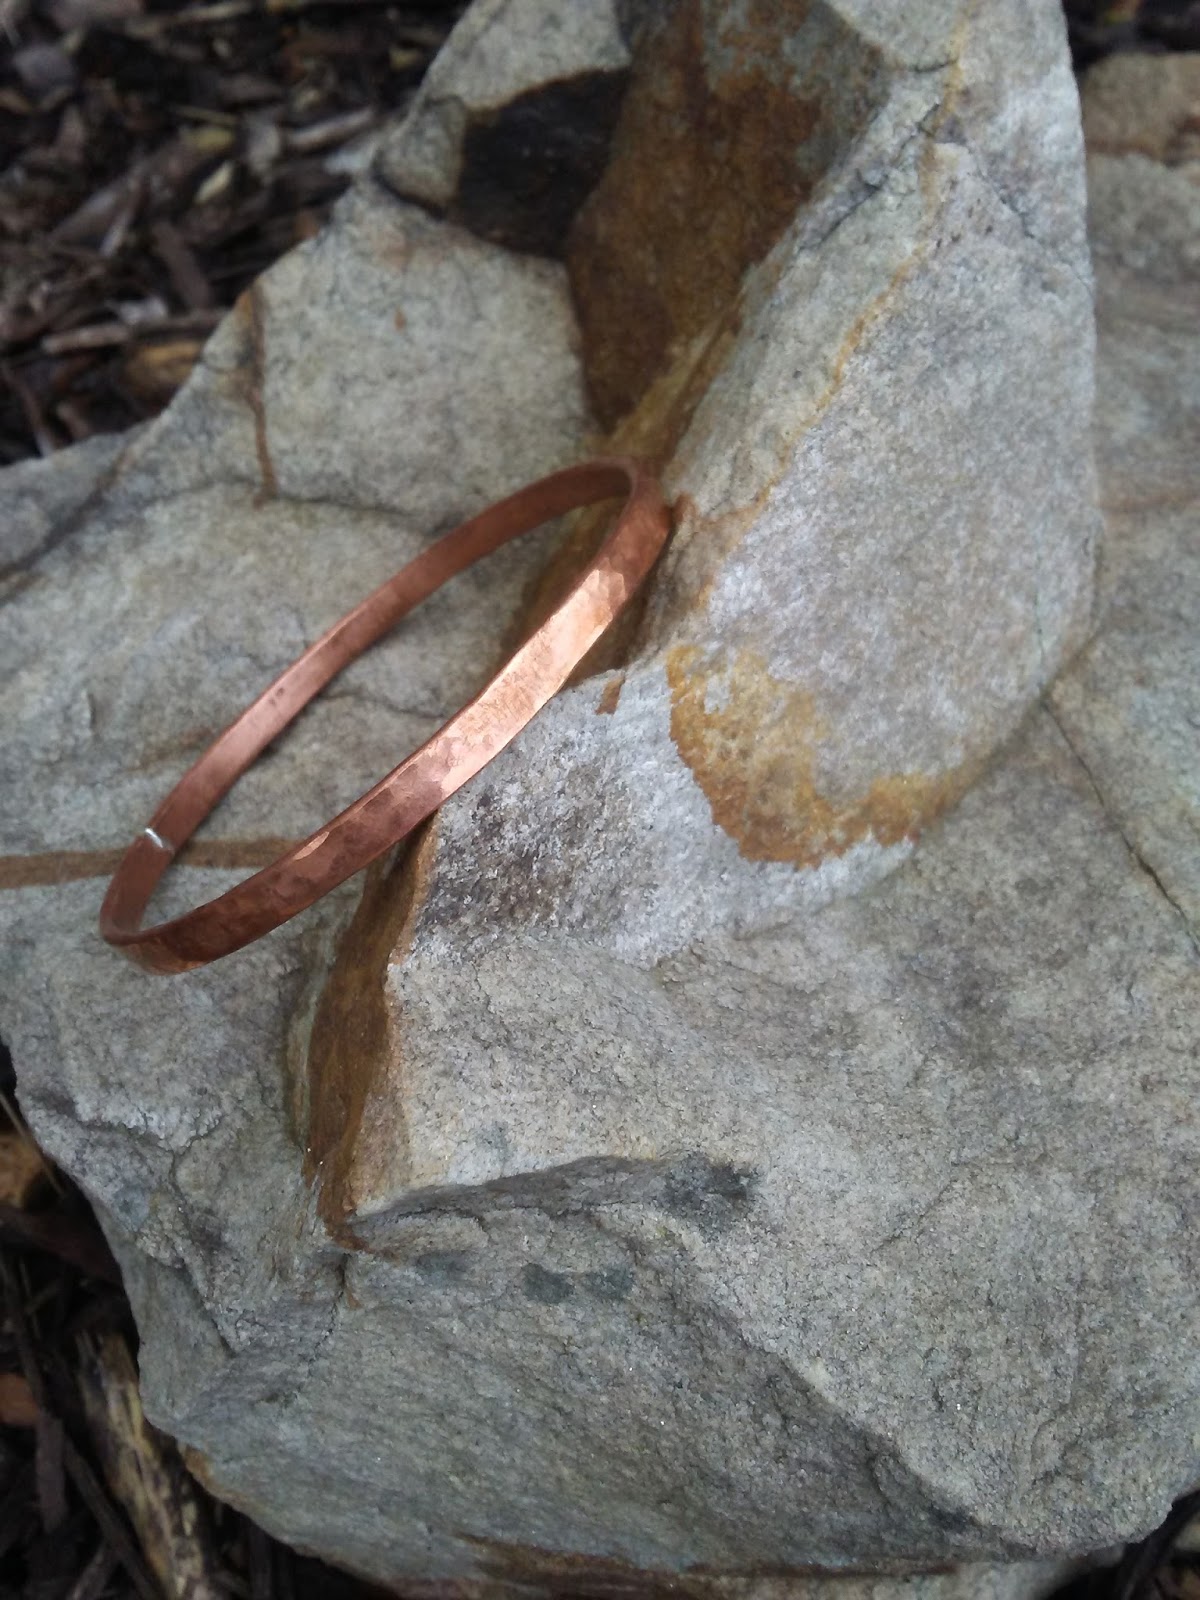
Our first project of the day was a Bangin' Bangle, so named by Dana (Instructor) because we used a piece of 10 gauge Copper wire and had to pound and pound to flatten evenly and add desired texture. I should have brought my earplugs 'cause 7 females banging out their various frustrations 😉 on a bench block is really deafening!!
I decided to use the ball peen hammer to give a lightly hammered effect to my bangle but some of my classmates used texturing hammers to create astonishing and beautiful results. See the whitish solder join above? We used Silver solder and it should dissapear after sanding, cleaning & buffing.
 |
| After soldering, pickle, lightly sanded |
Then came the perfecting (I use that term very loosely!) of the joins ... I must have filed both ends for at least 15 minutes and finally Dana kindly plucked the file from me, passed it over a couple of times and it was a done deal! I am happy to say that the soldering came out as planned. And
that's where I thought I'd have the big probs.
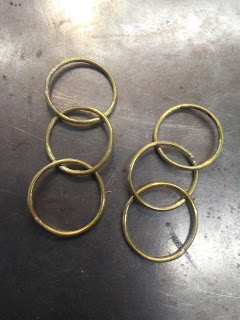
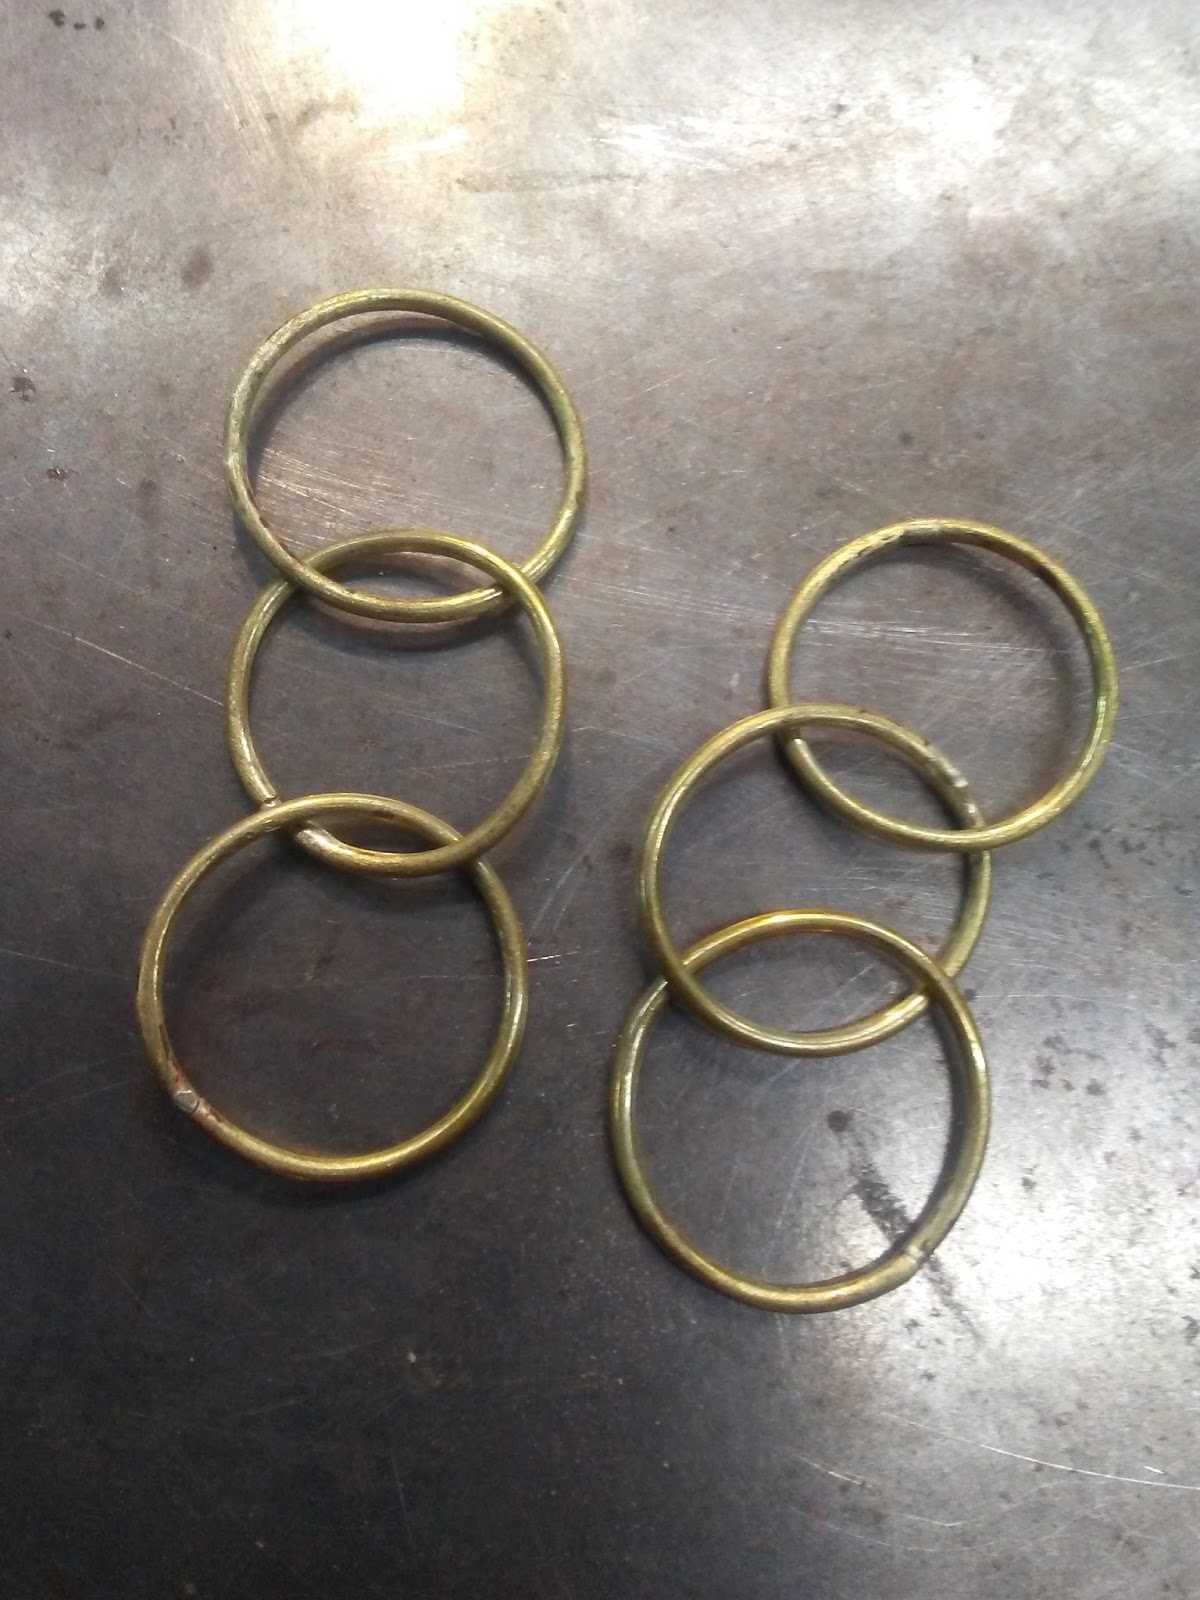
Next came the Brass 20 gauge rings, same prep: cut, form, file, (file x20 in my case) and solder using a technique called Pick Soldering. As you see, one of the rings got too hot and one end just balled up. So I had to make another one ... then I saw that the two middle rings didn't solder together! So I took them home, did some hair pulling, deep breathing and relaxing exercises. I got 'em done correctly at the next class (see below).
 |
| After picking, before sanding |
 |
| Re-filed, Re-soldered, still need clean-up |
All in all, I feel confident using an Acetylene Torch now and that's part of what this 2nd day was all about. I still have a
LONG way to go and one day (hopefully real soon!?) I'll conquer that filing technique.
The next 2 classes we'll be creating a ring using techniques such as: making a bezel setting, stone setting, ring shank measuring, cutting, the dreaded filing, soldering, cleaning & polishing. I'll combine both of those into 1 blog post. Stay tuned and Happy Creating!
A.


Too funny that you also struggled with the filing! All of us at my beginner's class (which was one weekend of 4 and 8 hours) had quite the problem with that!
ReplyDeleteOh yeah Cat, but I can say that on the next project, Dana (teacher) did solder two sides together that were not precisely filed! Don't understand how. I don't know now if it's still my filing, the torch not being hot enough ... I do know that the metal needs to be evenly heated so the solder will flow. Still in learning mode.
Delete